
RC Robot-Car with Orange Pi Zero 2W
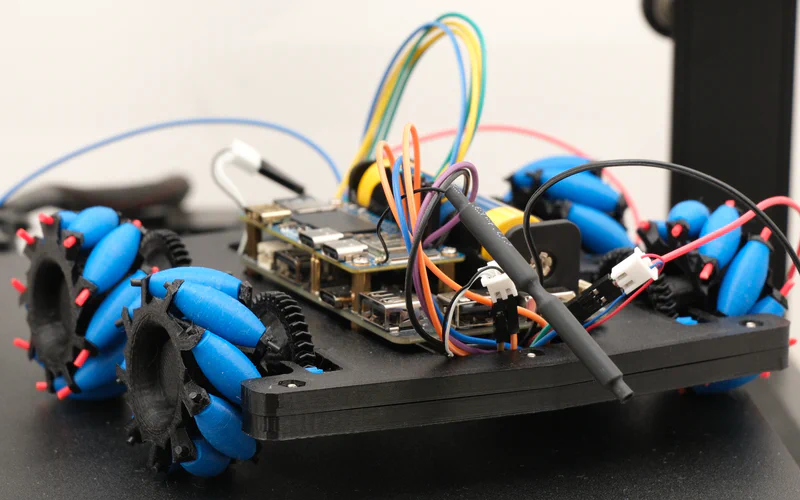
Orange Pi Zero 2W at the core of an RC robot-car
After setting up the Orange Pi Zero 2W with Gentoo, it is time to test how it stands up against the idea of an RC car.
The ultimate project
RC stands for Remote Control. And the remote in turn refers to control over ssh or WebRTC.
This project will hopefully converge with meetupstation.
Early last year I repurposed a broken robot-vacuum with Raspberry Pi 5 internals. The initial iteration allowed remote control over vnc; later I compiled two WebRTC applications - one for linux, based on Pion, and another for www. The combination made it possible to drive the robot from any browser - mobile platforms included.
Nowadays the Pi 5 has become so expensive that it is silly to let it collect dust any further on the floor, so I have disassembled the project. Even so, it is tempting to have that virtual presence at home, and so this is the second iteration.
This consists of three ongoing subprojects.
- The generic WebRTC software - meetupstation-api, meetupstation-web, meetupstation-pion. meetupstation.com
- The cad model, 3D printing. It is fun “inventing” with FreeCAD.
- Electronic control. The missing integration with WebRTC.
The rest of this article is only an intro to the 3rd bullet.
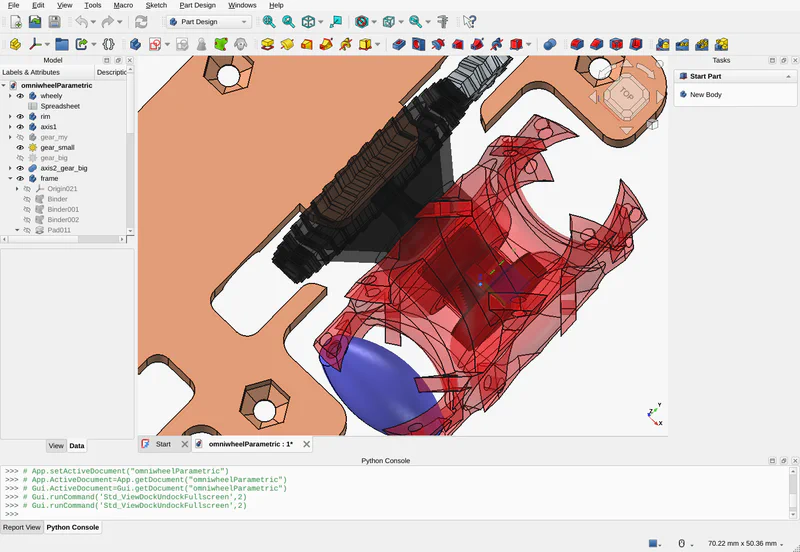
The cad model
GPIO
This robot needs four DC motors with bidirectional control. The term for the weird-looking wheels is mecanum wheel. Two L9110S modules are used, each with the ability to control two motors.
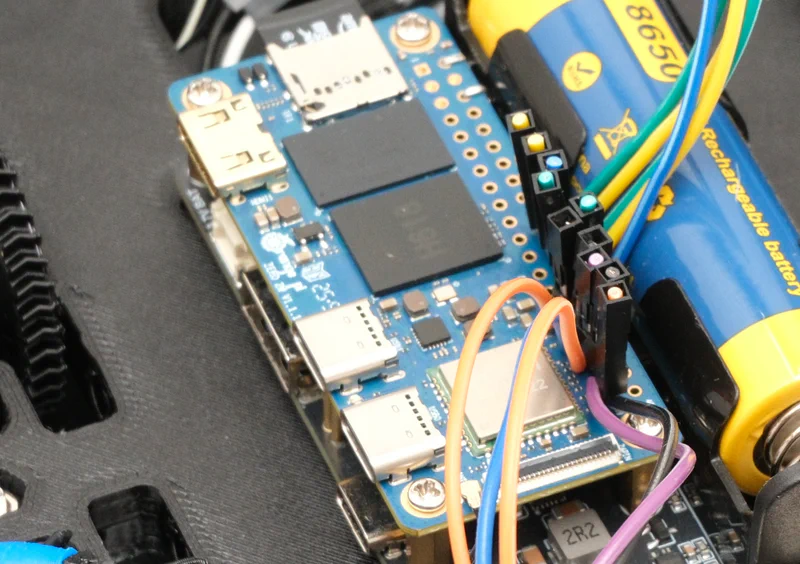
To abstract away from the electronics towards the software side of things, all I need is to control the outputs on 8 GPIO pins.
Below is the quick know-how on working with GPIO.
Install the libgpiod package.
1emerge --ask dev-libs/libgpiod
1gpiodetect
2gpiochip0 [7022000.pinctrl] (32 lines)
3gpiochip1 [300b000.pinctrl] (288 lines)
1gpioinfo -c gpiochip1
/dev/gpiochip1 is the device controlling the relevant pins.
Leverage udev. Add the gpio group and allow access for non-root user tigran as well.
1groupadd -r gpio
2usermod -aG gpio tigran
3
4mkdir /etc/udev/rules.d/
5echo 'SUBSYSTEM=="gpio", KERNEL=="gpiochip1", GROUP="gpio", MODE="0660"' > /etc/udev/rules.d/60-orange-pi-gpio.rules
To make a wheel rotate with a bash command:
1gpioset -c gpiochip1 265=0
2gpioset -c gpiochip1 233=1
The Orange Pi Wiki pinout map refers to individual pins with names such as PI9, PH13, while gpioset uses numerical indices.
PA = 0
PB = 32
PC = 64
PD = 96
PE = 128
PF = 160
PG = 192
PH = 224
PI = 256
This cheat-code list makes it possible to get around this problem, like so - PI9=256+9=265, or PH9=224+9=233.
Alternatively, this part of the wiki displays both conventions.
The way I have connected the motors, I will use the following pairs:
PI9=265,PH9=233
PI6=262,PH5=229
PI16=272,PI2=258
PI15=271,PI12=268
Two L9110S modules mounted underneath GPIO connections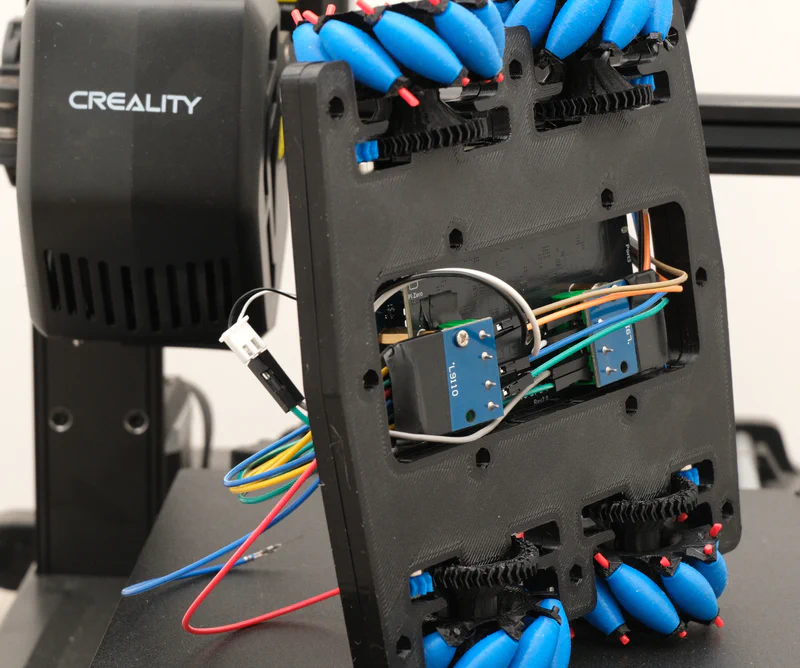
This is only the beginning
Each of the three subprojects expects a lot of [re]designing, research and redevelopment ahead.
- The WebRTC applications are waiting for improvements, optimizations and fixes.
- The model has the wheel mounts in plastic; I need to fix them.
- My DC motor choice is poor - the wheels do rotate when held up in the air, but cannot carry the weight of the car.